
Kimeblog // By Tony Mikla
Hip Mobility | The Ultimate Guide (And How to Make it Last)
November 12, 2025
If you’re someone who works out regularly, trains at the gym, or just wants to move better in daily life, hip mobility is probably something you’ve struggled with. Maybe you can’t get as deep in your squat as you’d like. Maybe your hips feel tight after sitting at a desk all day. Or maybe you’ve been foam rolling and stretching forever, but the tightness just keeps coming back.
Here’s the thing, there’s actually a specific sequence that works to improve hip mobility and make it last. Most people are doing one piece of the puzzle but they’re missing the complete picture. That’s why the gains don’t stick.
In this guide, we’re going to walk through a proven three-step system that addresses soft tissue restrictions around your hips. This is the same strategy you can use as a warmup before exercises like squats, deadlifts, or lunges to increase your hip and knee mobility. But more importantly, this approach actually creates lasting change in your range of motion.
Before we dive into the how-to, it’s important to understand that not all mobility restrictions are the same. You could have joint restrictions, things like arthritis or a tight joint capsule that surrounds the hip. You could have soft tissue restrictions like tight muscles, tendons, or connective tissue. Or you could even have nervous system tension, where your muscle tone is being controlled by your nervous system and creating restriction in the joint or tissue.
This guide focuses specifically on soft tissue issues around the hips, because that’s what’s most trainable and where you’ll see the biggest improvements. Let’s get into exactly how to do this right.
Not All Hip Tightness is Created Equal
Before we get into the actual strategies to improve your hip mobility, you need to understand that there are different kinds of mobility restrictions. This matters because what works for one type of restriction might not work for another.
Joint-Based Restrictions
These are restrictions that come from the joint itself. It could be arthritis in the hip joint, or the capsule that surrounds the joint could be tight and restrict the mobility of that joint. You might also have labral issues or other structural limitations that are keeping the hip from moving freely. These are more structural problems that typically need medical attention or specialized treatment.
Soft Tissue Restrictions
This is where the muscles, tendons, or connective tissue around the hip are creating the problem. We’re talking about your glutes, hip flexors, hamstrings, IT band, adductors, hip rotators, basically the second layer of tissue beyond the joint itself. When these tissues are tight or restricted, they limit how much your hip can move. The good news? This type of restriction is highly trainable.
Nervous System Restrictions
You can also have things like nervous system tension, or the tone of the muscle system that’s being controlled by your nervous system. This creates an increased amount of tension or tone in the muscles around your hip, which is going to create restriction in the joint or in the tissue. Think of this as your body “guarding” the hip, keeping it tight as a protective mechanism.
Why This Guide Focuses on Soft Tissue
If it’s more of a soft tissue issue, we’re looking at more of a muscle, tendon, or connective tissue problem, and there’s really a sequence here that’s effective. And that’s what we’re going to focus on in this guide, because soft tissue mobility is the most responsive to the techniques we’ll cover.
Quick Self-Assessment
How do you know if your hip tightness is soft tissue-related? Generally, if your restriction feels muscular, if it varies throughout the day (better after movement, worse after sitting), and if you can feel specific tight spots or tender areas when you press on the muscles around your hip, you’re likely dealing with soft tissue restrictions. If you have sharp pain, clicking, or a feeling of something catching in the joint itself, that’s when you want to get it checked out by a professional.
The 3-Step Hip Mobility System That Actually Works
Here’s where most people go wrong with hip mobility: they do just one thing. Maybe they only foam roll. Maybe they only stretch. And while both of those can help in the moment, the improvements don’t last. You might feel better for an hour or two, but then the tightness comes right back.
The reality is that just pressure doesn’t really last that long, and just stretching doesn’t last that long either. But doing the two together, and then adding a third step, is really valuable and gives you the best bang for your buck. This is the complete system that actually creates lasting change.
If you’re an active gym person, working out, training, and so on, this is a great way to warm up before doing exercises like squats, deadlifts, or lunges. You can also use it as a standalone hip mobility session on recovery days, or any time you need to increase your hip mobility and range of motion. Let’s break down each step.
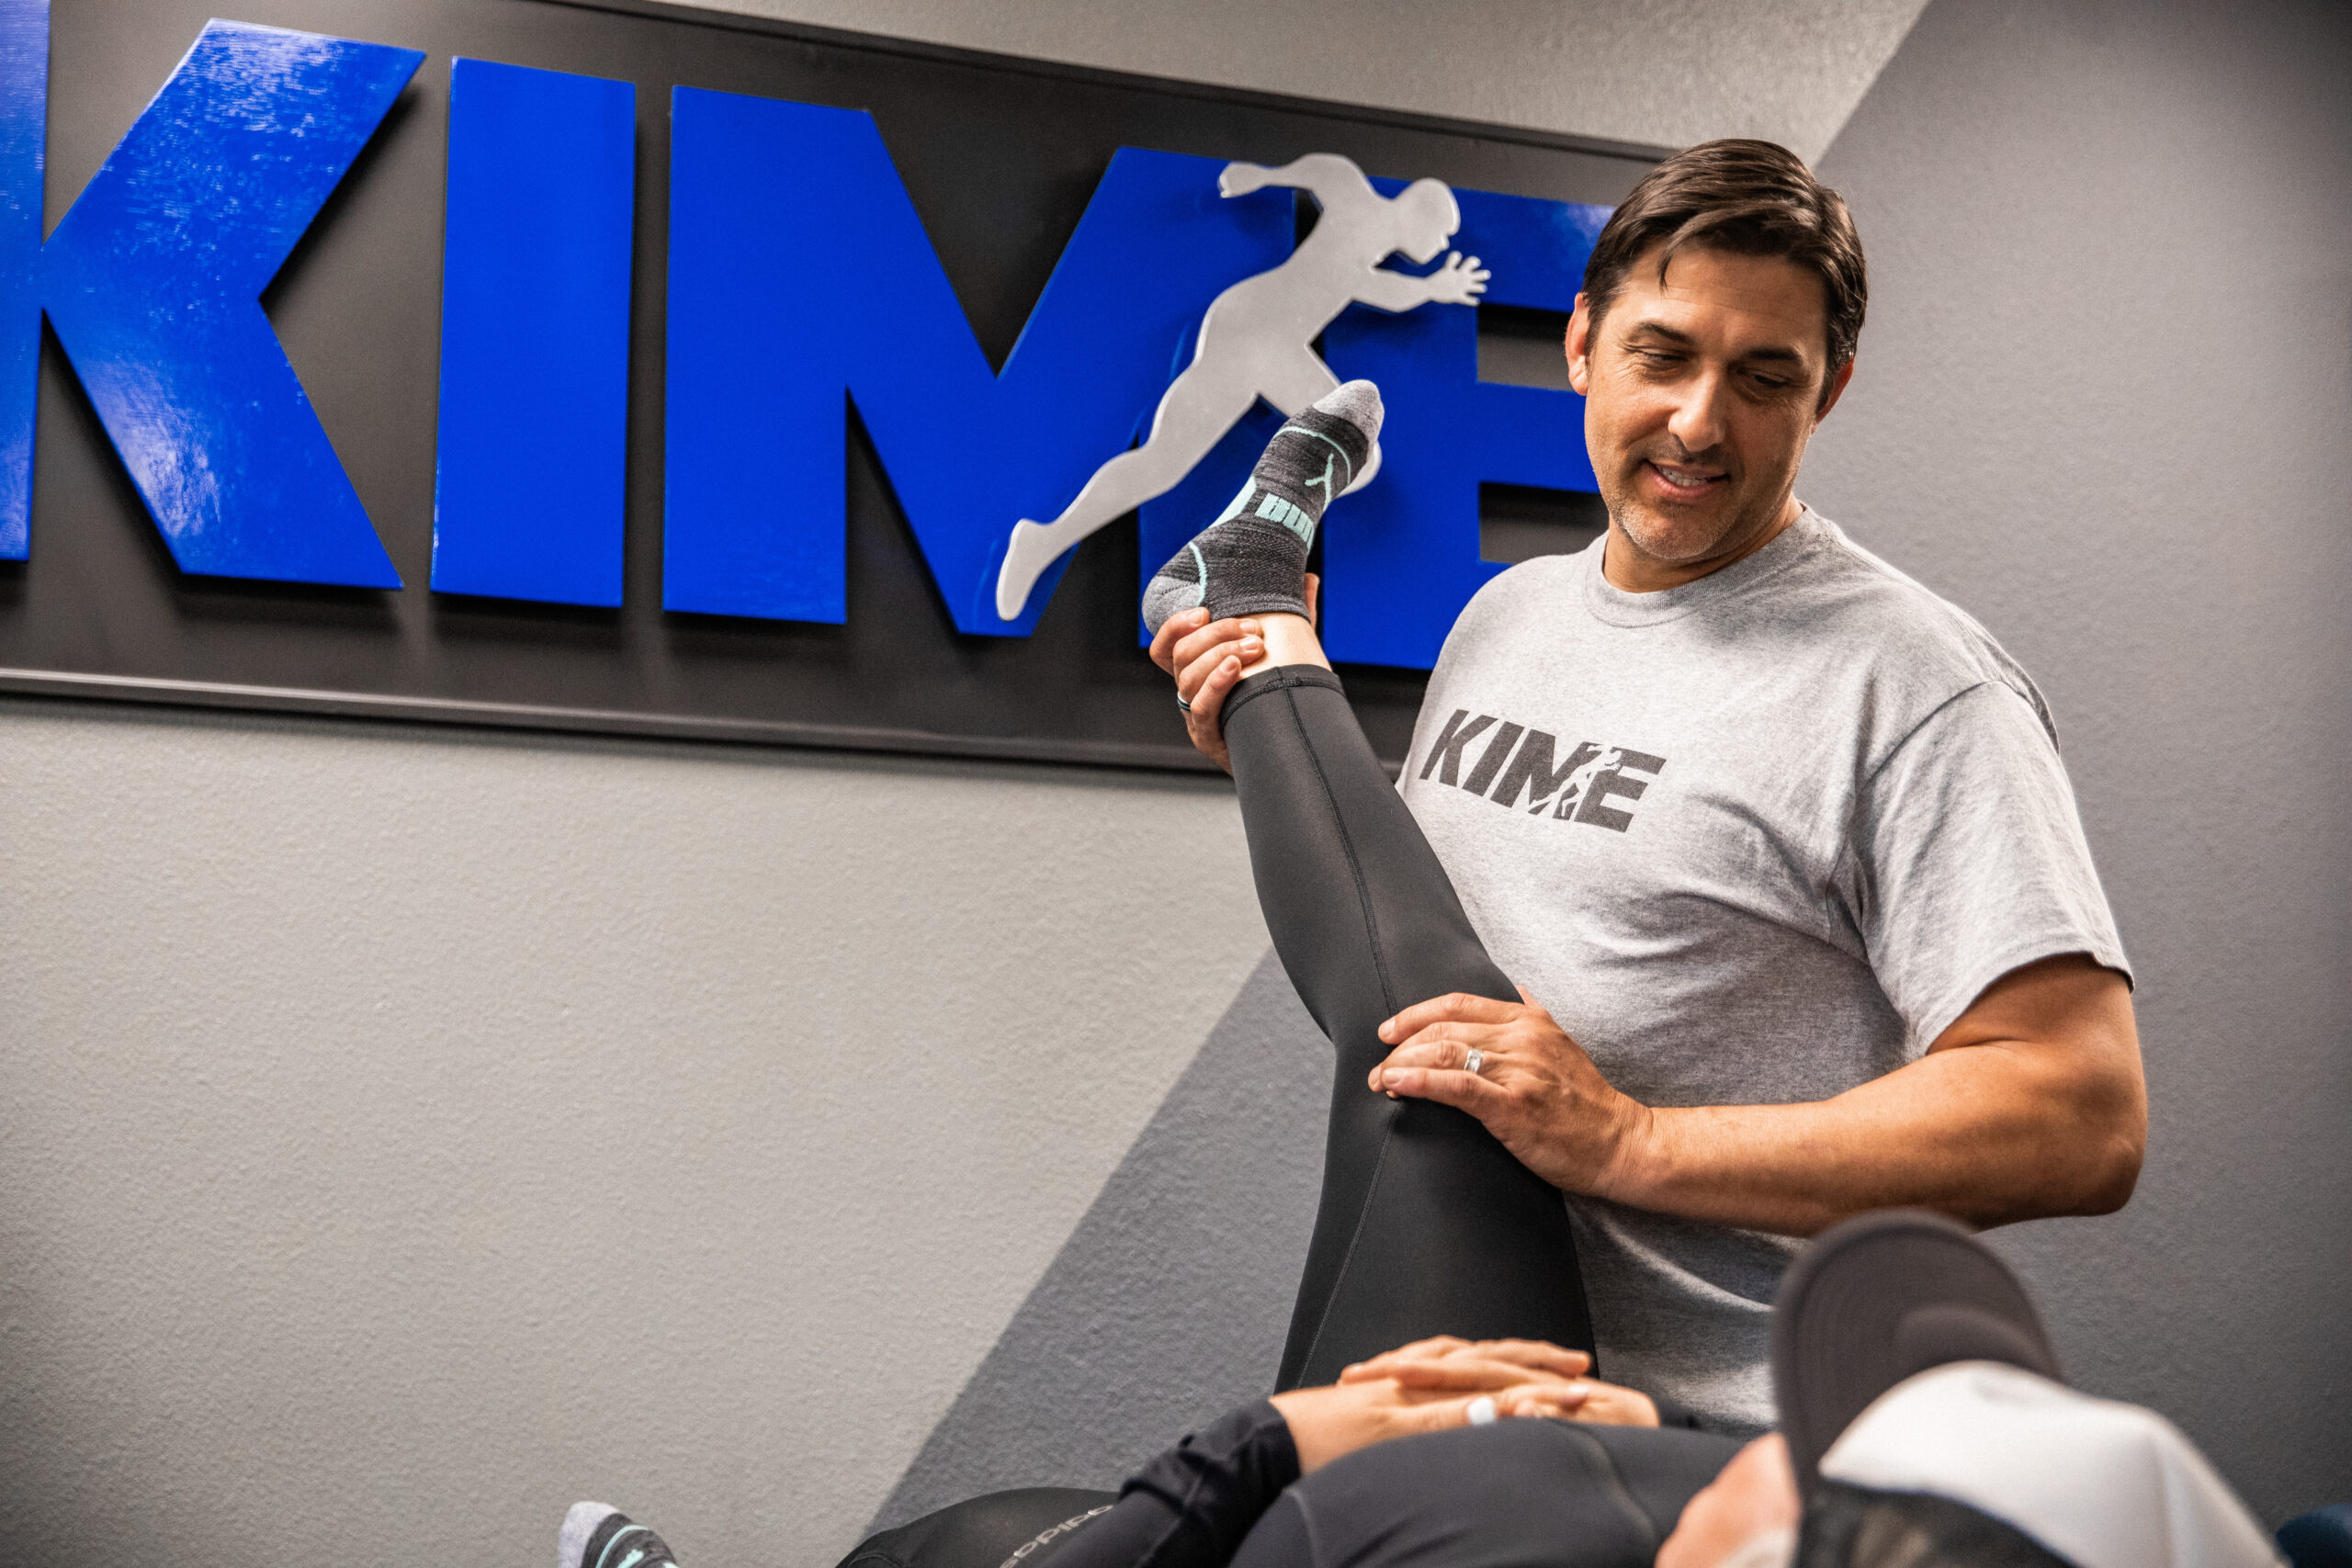
Step 1: Deep Pressure / Myofascial Release for the Hips
Prepare the Hip Tissue
This is where foam rollers come in, or you can use a myofascial release ball to do some self-release work on your hips. The key here is using some sort of deep pressure strategy on the muscles and connective tissue around your hip joint.
The Technique
What you want to do is scan the tissue by rolling the ball or foam roller over the involved area. You’re looking for any kind of hot spots, stiffness, or pain points around your hips. This could be in your glutes, your hip flexors, your IT band, your adductors, or the deeper hip rotators. Don’t rush this scanning process. You’re trying to identify where the restriction actually lives.
Then, once you find a spot that feels tight or tender, you want to settle in and hold the pressure of that ball or foam roller on that point for a prolonged period. The average time here is about 90 seconds, so you want to be there for one to two minutes and really let that tissue melt around the ball or foam roller.
You have to be patient here. We don’t need to be rolling back and forth and going crazy. It’s a matter of just laying there and relaxing. Let the tissue relax around the ball. You’re not trying to “work” the tissue aggressively. You’re applying sustained pressure and allowing the tissue to release.
What You Should Feel
In the beginning, it might be uncomfortable, even painful. But as you hold the pressure, you should feel the tissue start to soften and melt around the tool. The pain or discomfort should decrease as you hold it. If it’s getting worse or feels sharp, back off the pressure a bit or move to a slightly different spot.
Common Mistakes to Avoid
The biggest mistake is rolling too quickly. People get on the foam roller and just go back and forth, back and forth. That’s not what we’re after here. Find the spot, settle in, and hold.
Another mistake is not holding the pressure long enough. Thirty seconds isn’t going to cut it. You need that full 90 seconds to two minutes for the tissue to actually release.
Also, make sure you’re using the right tool for the area. A foam roller works great for larger areas like your IT band, quads, and hamstrings. But for more specific spots like your glutes, piriformis, or hip flexors, a lacrosse ball or massage ball is going to get in there better and give you more targeted pressure.
Why This Step Matters
Once you’ve done this pressure work, you’ve caused the tissue to become more relaxed and taken some tension out of it. Now it will be more available to stretch and move better. That’s why this step comes first, it prepares the tissue for what comes next.
Step 2: Targeted Hip Stretching
Extend Your Hip Range
After you’ve loosened up with the ball or roller for one to two minutes, you want to complement that with a bit of stretching. You want to stretch that same tissue for about one to two minutes.
The Technique
The key is to move directly from your pressure work into stretching while the tissue is still in that relaxed state. So let’s say you just spent two minutes working on your glutes with a ball. Now you’re going to go ahead and do a form of stretching, maybe bringing a leg across the body and stretching that glute out for another minute or so. Or you could do a pigeon stretch or a figure-4 stretch.
If you worked on your hip flexors, you’d move into a kneeling hip flexor stretch or a couch stretch. If you worked on your adductors, you might do a butterfly stretch or a wide-stance forward fold.
The important thing is that you’re stretching the same area you just released with pressure. And you’re holding it for a full one to two minutes, not just a quick 20-30 second stretch.
Why Both Steps Are Necessary
Here’s why combining these two things together is really key to increasing hip mobility: the pressure work breaks up the tension and adhesions in the tissue, making it more pliable. The stretching then takes advantage of that pliability and encourages the tissue to lengthen and move through a greater range.
Without the pressure work first, the tissue is still dense and restricted, so stretching is less effective. Without the stretching after, the tissue doesn’t learn to take on a new length. You need both components working together.
Step 3: Functional Hip Movement Integration
Lock in Your Hip Gains
This is the step that most people skip, and it’s the reason their mobility gains disappear by the next day. The key to making the hip mobility last and continue is to actually use this new range in a functional way.
The Technique
Once again, if we’re doing this for your hip, we would do the ball for a minute or two, do a stretch for about a minute, and then go ahead and do a movement that requires you to use that hip in a full range.
This could be a deep squat, a goblet squat, or something involving deep hip motion. You could do a really big step-up where you get your knee up toward your chest, have your foot on a step, and really drive out of that position. You could do walking lunges with a bit of hip rotation. You could do deep split squats or Cossack squats. Even something like 90/90 hip transitions can work great here.
The point is that you’re now using the range of motion you just gained. Just bodyweight is fine here, but you’re doing an easy, strength-based exercise where you’re using the motion you just gained.
Why This Step Creates Lasting Change
This final step will lock in the change and actually help you see consistent improvement in your range of motion and hip mobility moving forward. Here’s why: your nervous system needs to recognize and accept this new range as safe and usable. If you just stretch and then go sit down, your body doesn’t get the message that this new range is functional.
But when you load the new range, even just with bodyweight, you’re teaching your nervous system that this position is not only safe, but that you can produce force and control movement in this range. That’s what creates neurological adaptation and makes the mobility stick.
So now you’ve increased the range around your hip, and you’re doing a strengthening-based exercise in that new range. This combination is what separates temporary relief from actual, lasting improvement in your hip mobility.
Your Hip Mobility Game Plan
Now that you understand the three-step system, let’s put it into action with some practical routines you can use depending on your situation and time available.
Routine 1: Pre-Workout Hip Prep (10-12 minutes)
Best for: Before squats, deadlifts, lunges, or any leg day training
This is your go-to warmup sequence when you need to get your hips ready for heavy lifting or demanding lower body work. You’re hitting the three main areas that typically restrict hip mobility during these movements.
Hip Flexors: Roll with a ball for 2 minutes (scan and hold on tender spots) → Kneeling hip flexor stretch or couch stretch for 1.5 minutes → High step-ups for 8 reps per leg
Glutes: Roll with a ball for 2 minutes (especially hit the glute medius and piriformis) → Pigeon stretch or figure-4 stretch for 1.5 minutes → Goblet squats for 8 reps, focusing on depth
Adductors: Roll with a foam roller or ball for 2 minutes → Butterfly stretch or wide-stance fold for 1.5 minutes → Cossack squats for 6 reps per side
This sequence systematically opens up your hips in all the ranges you’ll need for your workout, and the integration movements prime your nervous system for the loaded work ahead.
Routine 2: Comprehensive Hip Mobility Session (20-25 minutes)
Best for: Standalone hip work on recovery days, addressing chronic hip tightness, or when you have time for dedicated mobility work
When you have more time and want to really address hip mobility comprehensively, extend everything. Hit all the major hip areas, hip flexors, glutes, adductors, hamstrings, IT band, and hip rotators. Use the same three-step system, but give yourself extended hold times of 2-3 minutes on both the pressure work and stretching, especially for areas that are really stubborn or restricted. Follow up with multiple integration movements that challenge your hips in different ranges.
Routine 3: Quick Hip Opener (5-7 minutes)
Best for: Daily maintenance, office workers who sit all day, pre-run warmup, or when you’re short on time
Pick your most restricted hip area, for most people who sit a lot, this is the hip flexors. Run through the complete three-step system on just that one area: 2 minutes of pressure, 1.5 minutes of stretching, and 8-10 reps of a movement that uses that range. It’s an abbreviated version, but it’s enough to make a difference when done consistently.
Frequency Recommendations
Active individuals and gym-goers: 3-5 times per week, ideally before your training sessions
Desk workers: Daily hip mobility work, even if it’s just the quick 5-7 minute routine
Athletes training lower body regularly: Before every lower body session, using the pre-workout hip prep routine
Consistency is key here. These routines work, but only if you actually do them regularly.
Tips for Long-Term Hip Mobility Success
Consistency over intensity is what matters here. You don’t need to go crazy with aggressive rolling or force yourself into painful stretches. Regular, patient work is going to get you much further than occasional intense sessions.
Track your progress. Notice how deep you can squat, how a stretch feels compared to last week, how your hips feel during daily activities. Be patient with chronic tightness. If you’ve been sitting at a desk for years, that restriction didn’t develop overnight and it won’t disappear in a few days either.
Build hip mobility into your lifestyle, don’t just treat it as another workout task. Make it part of your routine.
Recent Blogs
Archives
Kimecast Channels


